April 18, 2017
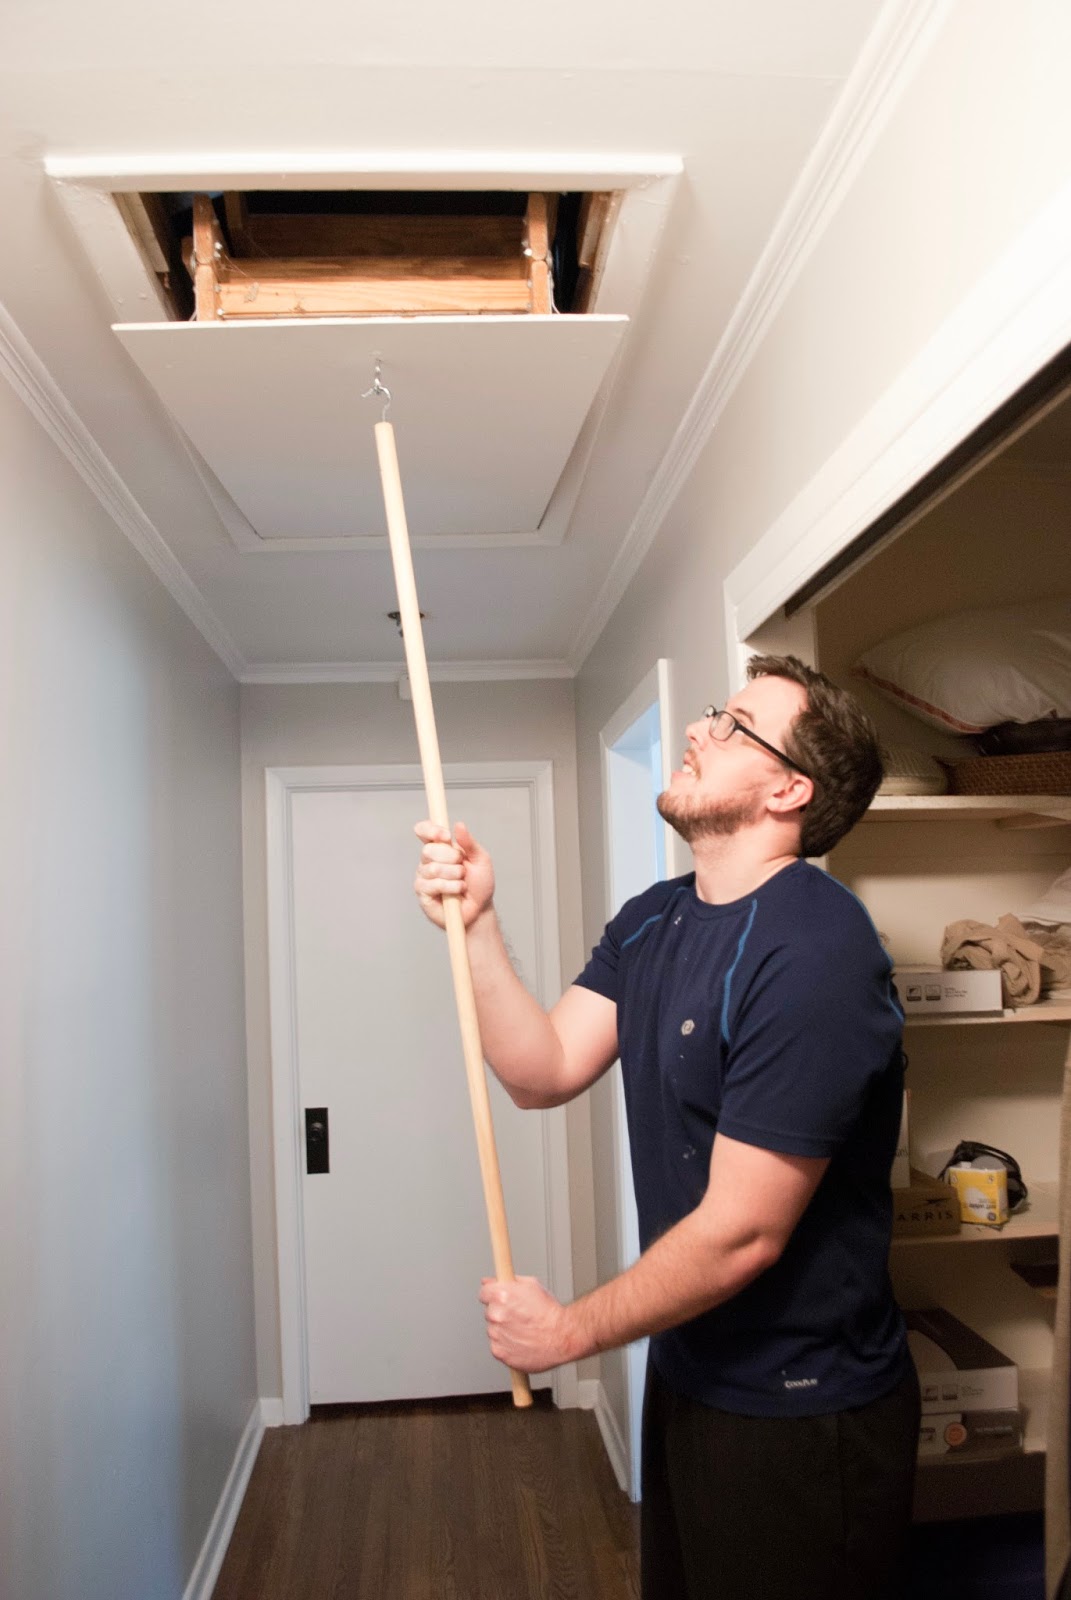
Getting Rid of the Ugly Attic String with a 10 Minute DIY
Week 3 of the One Room Challenge has me whipped! I took a break from the heavy remodeling and did a quick DIY that's been bugging me lately to satisfy that instant gratification need. We have an attic and just like everyone else that has one, the only way to open it is with this ugly and gross looking nylon string. I have never liked looking at them for obvious reasons and because we are both so tall, we almost hit it when we walk by! So I stopped by Home Depot and grabbed the supplies I needed for about $6.
April 13, 2017
One Room Challenge Week 2 | Plumbing, Prepping Walls, Cabinets & the Mood Board
I can't believe Week 2 has already come! Week 1 we showed the before pictures and laid out some visual plans. Everyone's plans look awesome and I can't wait to see everyone's progress this week. Week 2 seems like it's one of the most "not fun" weeks because everyone is tearing things down and just starting to put things back together. But this week we were able to get the plumbing done, prep the walls, get the cabinets up, paint the ceiling, and start on the mood board.
We finally got to install these cabinets this week and they look amazing. I've actually rewritten this sentence like 5 times just so I could convey how much I love these cabinets.They are the perfect Shaker and come in a pre-painted white, perfect for a 6 week challenge, eh? On the washer side we put 2 27" shaker cabinets side by side. It was my first time hanging cabinets and my dad helped me make sure I secured them right since I was (and kind of still am) paranoid about them falling off. But after hanging the first one, the other ones were easier. This next week we'll put filler strips on both sides and eventually build them up to the ceiling.
April 6, 2017
One Room Challenge: Week 1 | Laundry Room Before and Plans
Exciting news friends! If you guys have been watching my Insta-Stories, you'll know that this season we are participating in the One Room Challenge as a Guest Participant! I didn't even know about this challenge or what it was until this past season in October. For those of you who don't know the One Room Challenge is literally just that - a challenge to remodel/redo/upgrade one room in your house (or wherever) in 6 weeks. You hear that right, just 6 weeks. Some people take on kitchens, bedrooms, living rooms, dining rooms, pretty much any space you can think of. They ask 20 bloggers to participate as the Featured Designers, who post on Wednesdays, and then open the challenge to other blogger to participate as a Guest Participant. You can see all the Guest Participants linked up on Calling It Home's website (we're #195!)
It's a simple concept but gives everyone the push they need to start on that space they've been putting off for so long (*cough* our laundry room *cough*). It also connects us all to bloggers that we don't normally follow or don't know about! So this season we are participating, so follow along every Thursday - Welcome to Week 1.
March 6, 2017
Kitchen Favorite: Dutch Oven (and a Siracha Chili Recipe)
Do you have that one piece in your kitchen that just makes cooking ten times easier? For me, it's our Martha Stewart for Macy's Cast Iron Dutch Oven. We actually got two of them for our wedding which weren't even on our registry, but oh am I so glad someone gifted them. It is incredibly durable, it can be used for so many different things, it is easy to clean, AND for only $50
A few weeks ago we had a chili cook-off at my work and I decided to participate even though I had never cooked chili a day in my life. While I was searching through Pinterest for recipes (obviously), I found that there were no spicy chili recipes! So I decided to take a normal chili recipe and throw our favorite hot sauce in it - Sriracha.
February 28, 2017
Low Cost Closet Storage Shelves
Storage and closet space is a premium in any house, especially in our 50's house. Even though there is a closet in every room, they only had one rod PER closet. It seemed like a waste of space so we did a quick fix when we moved in and put two rows of basic dowel rods with a board on top. Auston uses the closet in our bedroom and I use the guest room's closet since obviously we have no room to share one - and we don't have many guests since our families live in the same town. The two rods are great, but I had intentionally cut my bottom one short so that my dresses could have room to hang. The dresser in my room was filled with t-shirts, workout clothes, and pjs, but I still needed somewhere to store my sweaters and some shoes - enter my first mini construction project.
February 21, 2017
5-Step Modern Farmhouse Wall Hooks
Has anyone else gotten the cold/flu that's been going around? Well this girl, who never gets sick, did. And it is anything but blog writing conducive. But nevertheless, I am on the mend and wanted to share this quick 20 minute project that helped make our room more functional.
I love robes. They're easy to slip on in the mornings or after I take a shower. Since we moved in October (wow, has it really been 4 months already?!), I have been keeping our robes on thumbtacks I stick in the wall. Literal thumb. tacks. They worked great for a while, but I was getting tired of them being difficult to hang things on, oh yeah and they're super ugly. I've been keeping my eye open for pretty hooks, but kept could never make up my mind. I decided to run to the Home Depot to see if they had any, and who would have thunk it, they had the perfect ones. They're a little less modern and more farmhouse than I thought they would turn out, but they still make life better. The project took 20 minutes and only cost $15 - worth it.
February 9, 2017
DIY Amber Shampoo, Conditioner, and Body Wash Bottles
Do you hate all the different colored bottles in your shower? I mean let's be serious, who actually likes all those weird colors and logos lining your tub or shower? If you do, I'm glad you do! But if you're like me, all those bottles get on your nerves. It feels like the least pretty way to keep your shampoos and body wash. On a podcast a while ago, I heard that the first thing Nate Berkus does when he gets new shampoo or conditioner is tear off the labels. I thought - that could solve my problem! But with my luck, the bottles I buy have the labels printed right on to the plastic... Meaning there was no taking them off.
Then I came across this post by on of my favorite bloggers, Almost Makes Perfect. I was like YES! You answer all my minimalistic style needs Molly! So I got all the materials and did the shampoo bottle diy. So here's a quick tutorial on how I did it - it only took $10, 30 mins, and minimal effort. I did 3 bottles for me, and 3 bottles for Auston. The actual bottles are SUPER cheap, like ¢70 a piece! Quick note: make sure the letters you get are vinyl so that they're waterproof!