Week 1: Guest Bedroom Befores
Week 2: The Mood Boards and Plans
Week 3: Making A Hard Wired Sconce into a Plug In
Week 4: Painted Ceiling Fan
Week 5: Vertical Board & Batten

The room wasn't terrible to begin with, but as you can see - it's just blah.
BEFORE

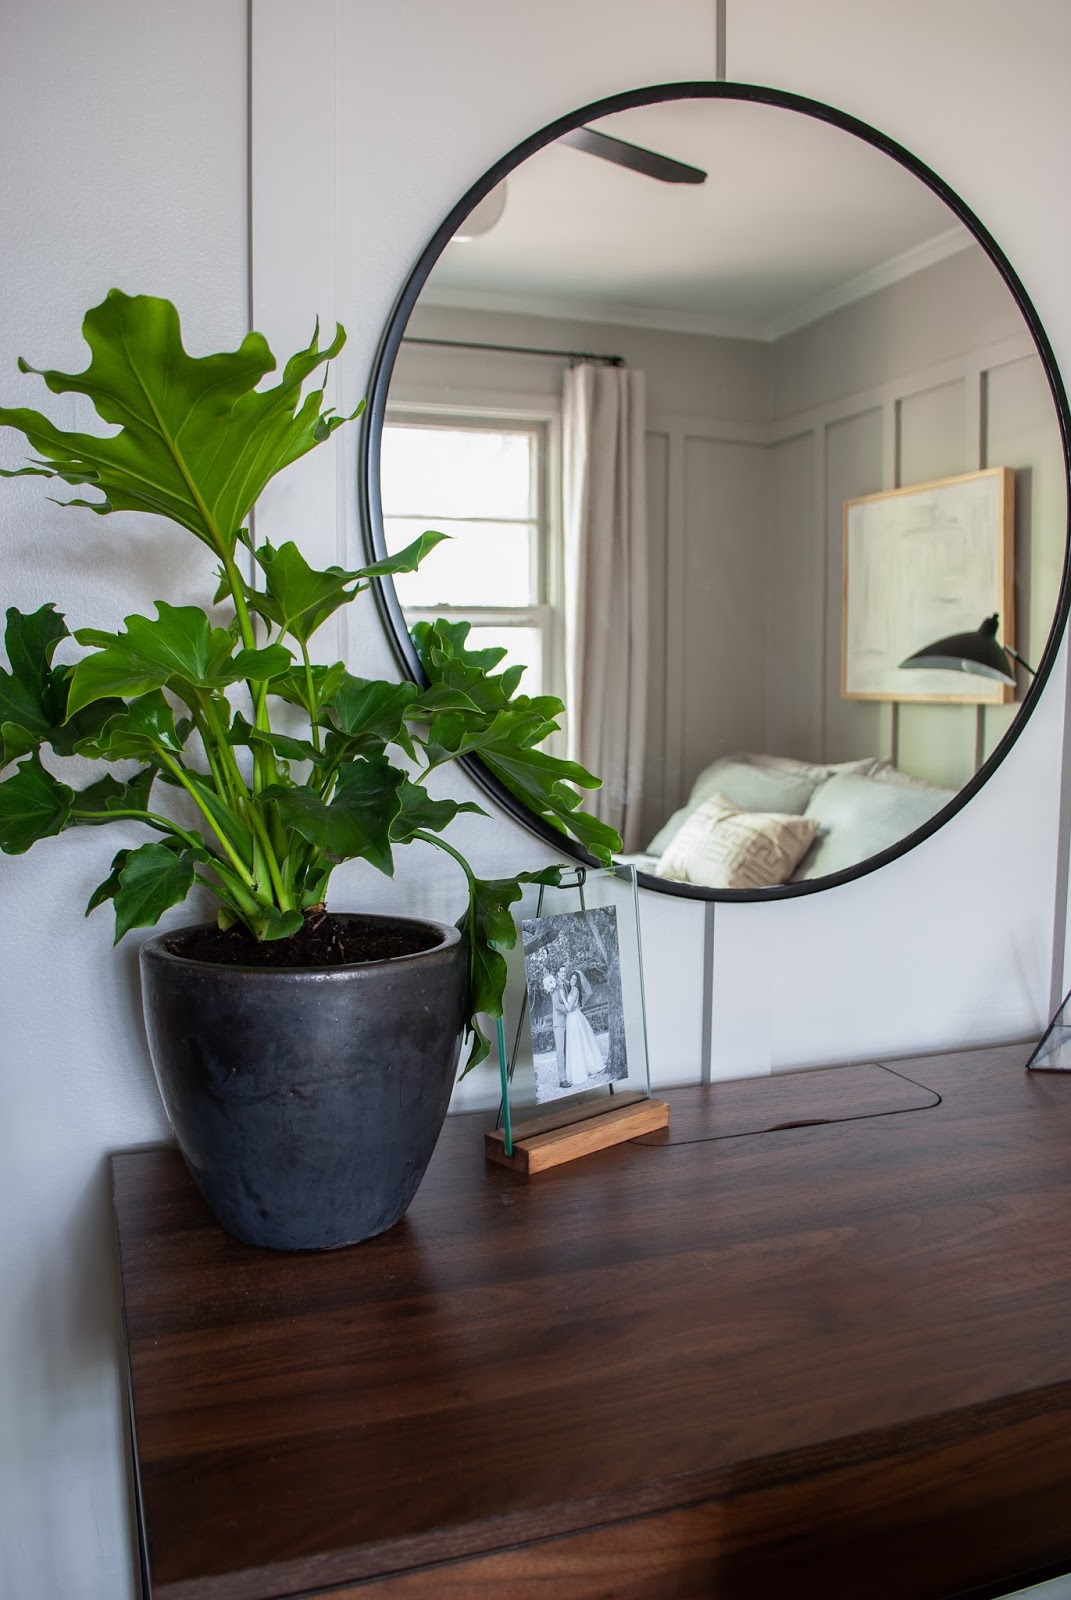
AFTER


If you watch my Stories, you'll remember when I started painting my canvas... at 11:00pm... on Tuesday night. Haha. But I finished and framed it with some pine boards. I used my regular oil paints on a stretched canvas, both were from Walmart btw. I really hope I can take more time out of my schedule to do more painting because it is therapeutic for me. An I mean, for $20 it's not a bad way to get some custom art.


I LOVE how the monotoned board and batten turned out, it really added texture to the boring walls. The swing arm hard wired light that I turned into a plug-in actually turned out alright! I was skeptical about having the exposed cord and switch because I haven't loved them in other peoples rooms, but it has really grown on me in this room.


One priority I had going into this challenge was to make a space that functioned both for me as my "getting ready" space but also was comfy enough to host guests. I tried so hard to keep the basics in a single color scheme to give that relaxing-hotel vibe.


It was a huge challenge for me to pick out a plant because I wanted something that would be the focal point since it would be the only colorful thing in the room - but I got to Home Depot and I could not settle on something because I was scared of going too big. After a lot of telling myself to get over it, I ignored my fears and got the $12 plant anyways and it turned out perfect.


I found my dream pillow on Etsy but didn't have the budget to buy it so I DIY'ed it! Just a simple pillow cover sew job and a fabric marker got me my dream pillow for just $6.

I always get asked about our door hardware so here's hoping I can preemptively answer your questions. We have generic low-grade hollow core doors and painted them white. Then I painted the stock knobs black and a black rectangle around them. So they're fake. Haha I swear it's not that I don't appreciate quality I'm just a young newlywed living on a budget but who still loves making a home.


I love collecting drawing mannequins and this hand is no exception. It brings a bit of my love of art into a space even when other people come to stay.


I also DIY'ed our drop cloth curtains when we moved in. They were $10 a panel and are nice and thick - hardly something you'd expect to find at Home Depot.


I mean, look at that board and batten guys. I literally am swooning and am so glad I made the decision to stop oogling other peoples wall treatments and just do my own. If you're on the fence about doing a wall treatment - JUST DO IT.


I know I took a lot of pictures this time guys, but I just love every single photo. So thank you if you've made it this far.


My favorite vintage pocket change bowl - best $13 I spent (from Etsy).


I was scared the print I was going to try to copy wouldn't turn out good, but I can't take my eyes off it! Pairing it above the dresser I restored is a great way to marry vintage and modern. The more I do this the more I think that's where my decorating style truly lies.


I am now Team #ExposedCord.


I tried really hard to keep the decor to a simple minimum - so only a change dish for the side table.


Close up of the oil painting because it is just so hard to see that pretty texture in photos. #Oils4Life


This ORC has probably been my favorite so far. I'm actually writing this sitting in the guest room because I love being in here so much. Thank you guys for all the love, it really is so fun to share our journey with you all.
SOURCES
Comforter - $100
Comforter - $100
Sheets - $32
Desk - $100 (already had)
Mirror - $40
Black Frame - $20
Lamp - $100 (similar one)
Paneling Wood - $127 ($6 a board)
This project only cost us about $500, and that includes the desk and lamp that we have had for a while. Not bad for a total room re-do!
There are a TON of great other spaces this season, so give them a look on the ORC website.

Thanks for tuning in for this challenge and be sure to check my InstaStories for all the behind the scenes!


You nailed it with "I swear it's not that I don't appreciate quality I'm just a young newlywed living on a budget but who still loves making a home." Hah I am cry-laughing because, so true. It's like we're twins. But anyway, great job on this room! I love it so much! A little old and a little modern is my sweet spot too - looks amazing.
ReplyDeleteHahahaha it's just SO accurate! Thank you so much! I'm really glad it's not just me haha.
DeleteI love everything about it! The wall treatment, the sconce, the paint color, you did a great job!
ReplyDeleteThank you so much Kalila!! I love being in there!
Delete